

How Deep Down Should The Irrigation Pipe Be In A Raised Garden Bed
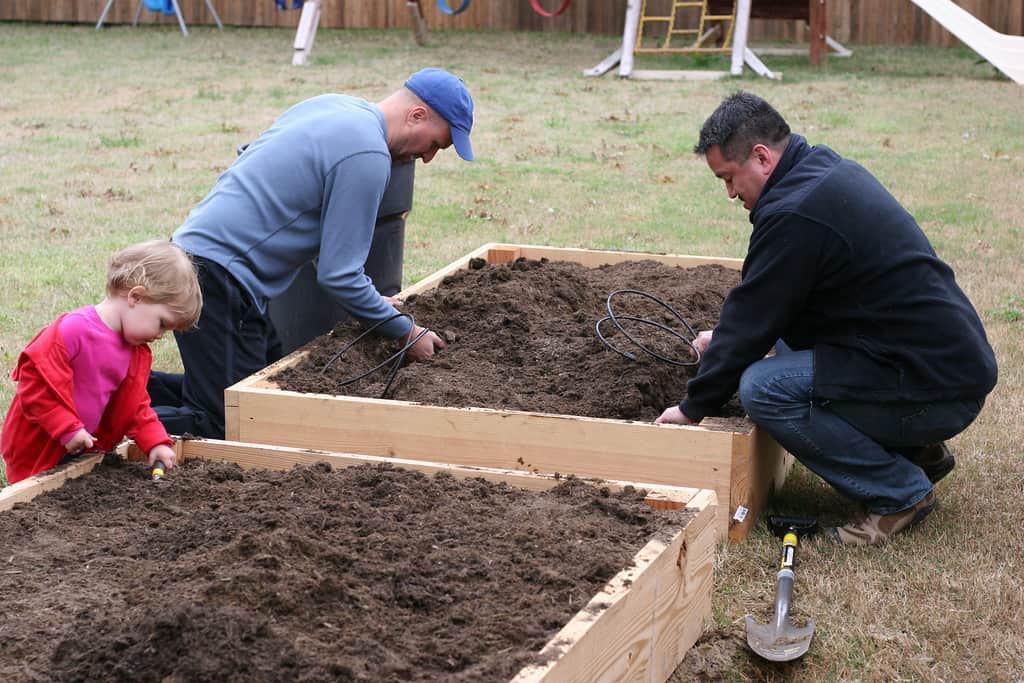
Team Texas had a wildly productive weekend of garden preparation; buying plants, installing an irrigation system into our raised beds, and planting.
We were all ready to go to Home Depot and design an irrigation system from scratch. Imagine our delight to find that someone has already done the work. The guys at the "Depot" introduced us to DIG Irrigation Products drip and micro sprinkler system (not a sponsor, just love their stuff.) DIG has created an awesome FREE Drip Irrigation Installation Guide which guided us through what to buy and how to put it together. Down the line, if we want to install misters, sprinklers, faucets etc, we can easily add them on. It's really amazing. For now we just need a basic irrigation system to keep my lazy butt from killing the entire garden.

Here's what we did…
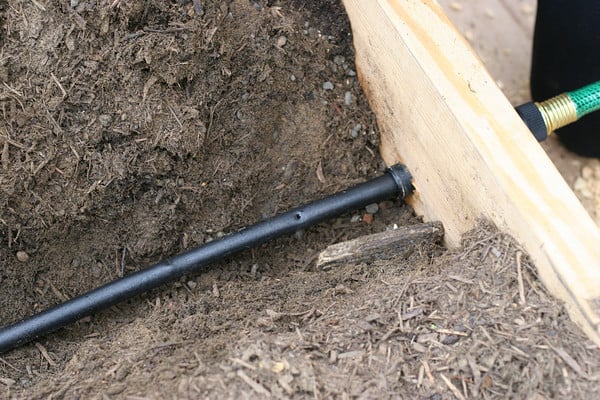
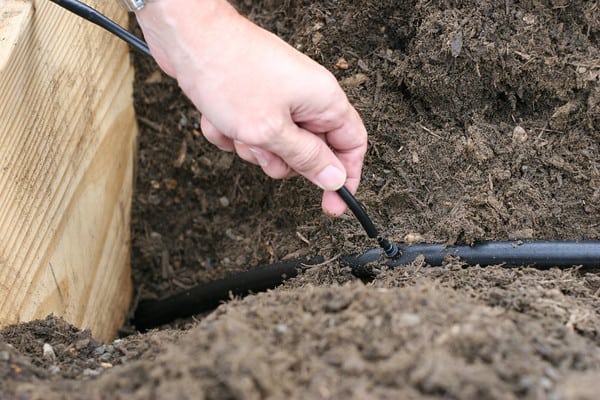
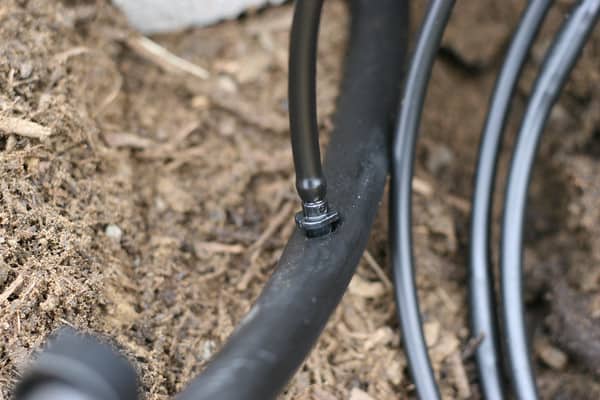
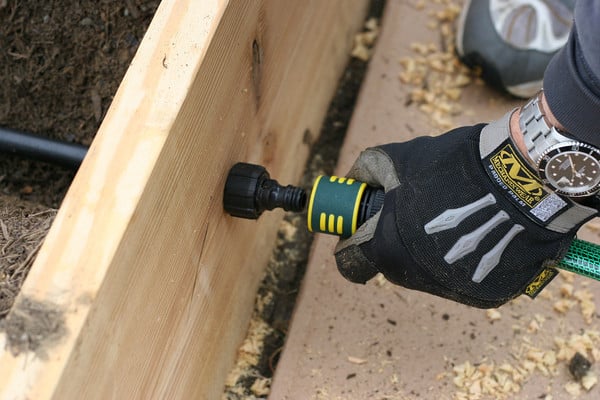
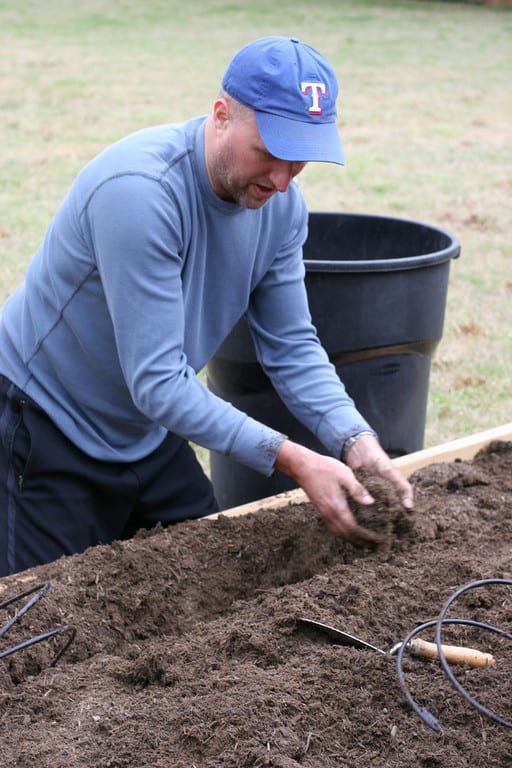
1. drill 1″ hole through ends of bed approx 6″ from top. A hose transition attaches the 1/2″ poly-tubing irrigation mainline (thick black tube) to the quick disconnect hose attachment.
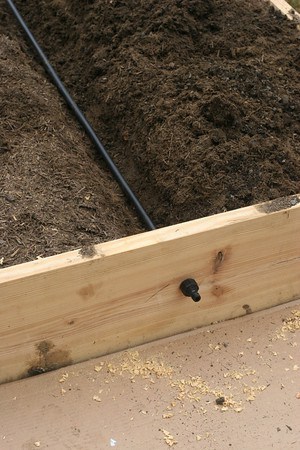
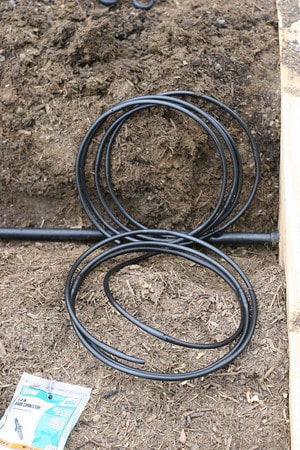
The cinder block just holds the tubing flat while it relaxes
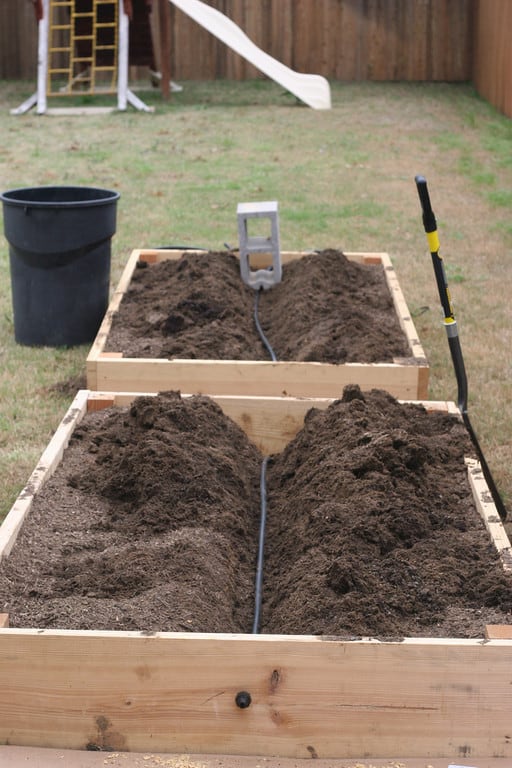
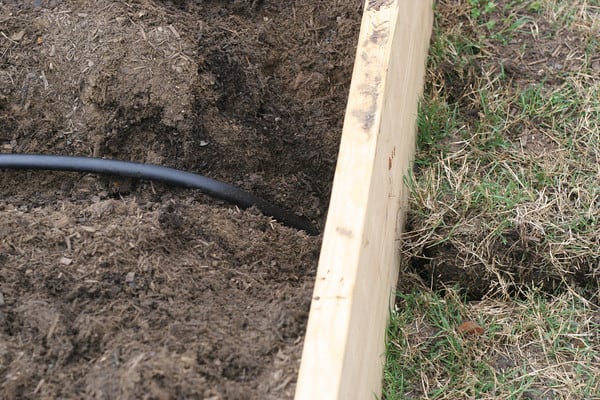
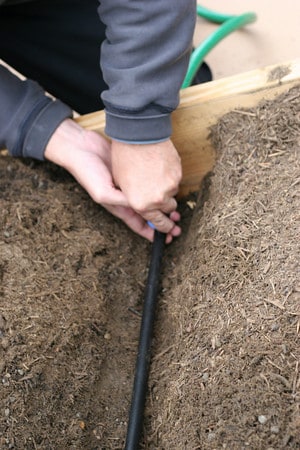
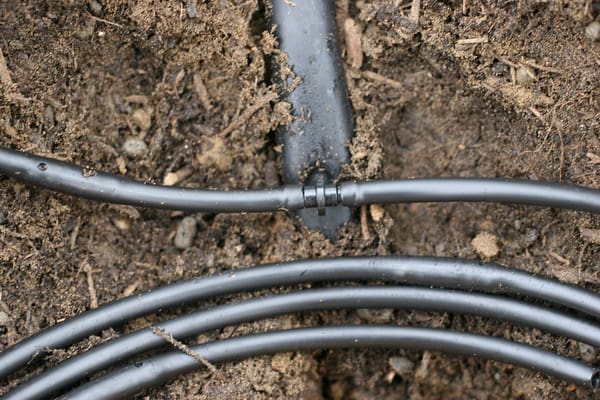
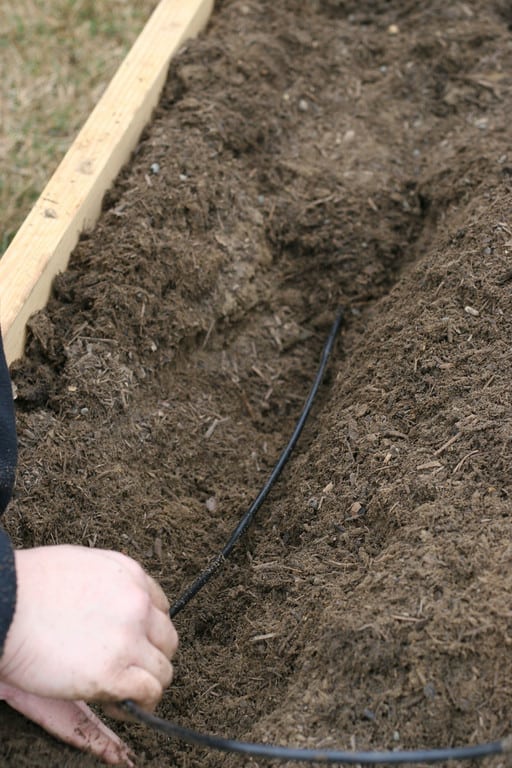
The mainline runs from the end of first bed, along the center in a 6″ ditch and under the opposite bed wall to next bed. Between the two beds, the mainline is buried approximately 6″

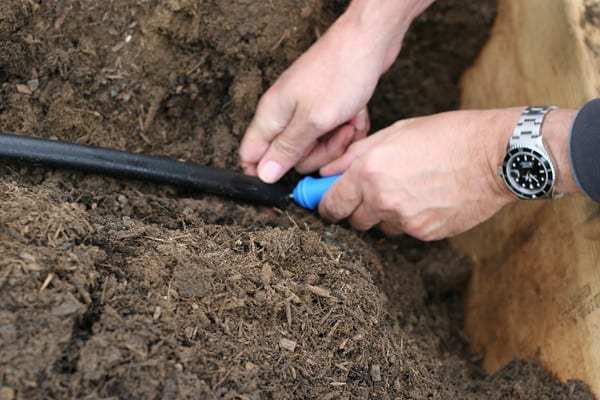
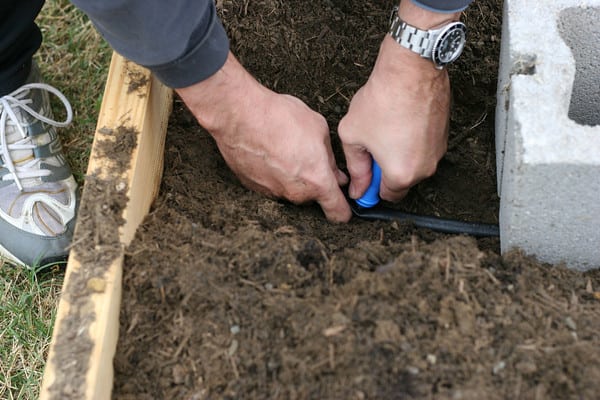
Then the mainline comes back up under the second bed's end wall and into a 6″ deep trench down center of bed.
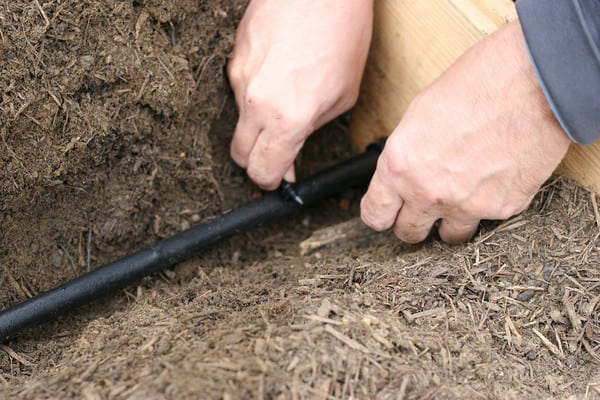
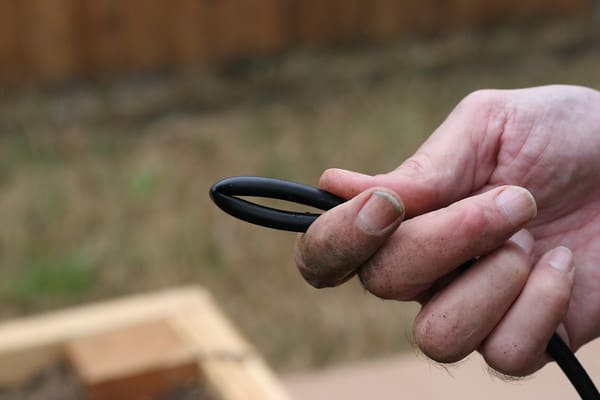
At the end of the second bed, a Figure-8 Hose End is used to seal the end of mainline.
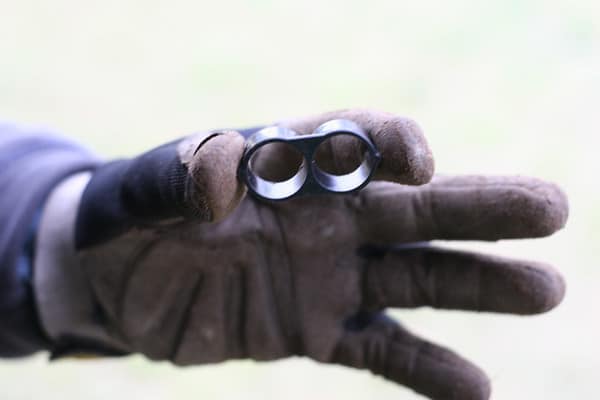
The hose goes into Figure-8, is crimped and inserted back into Figure-8 Hose End.

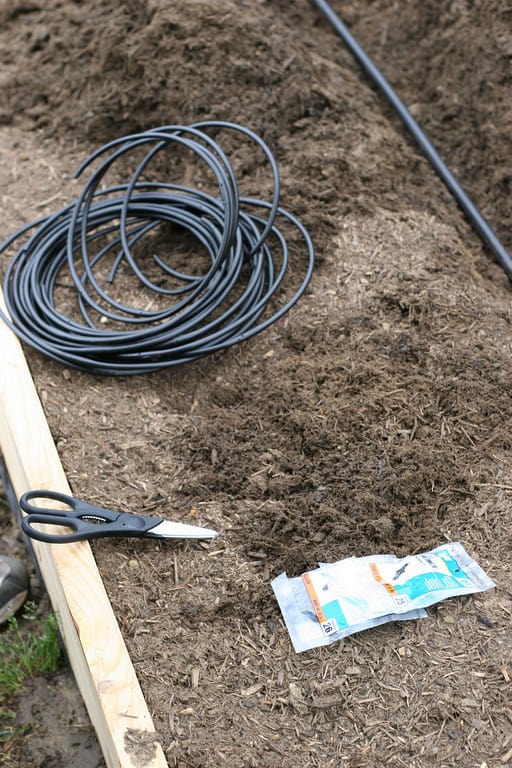
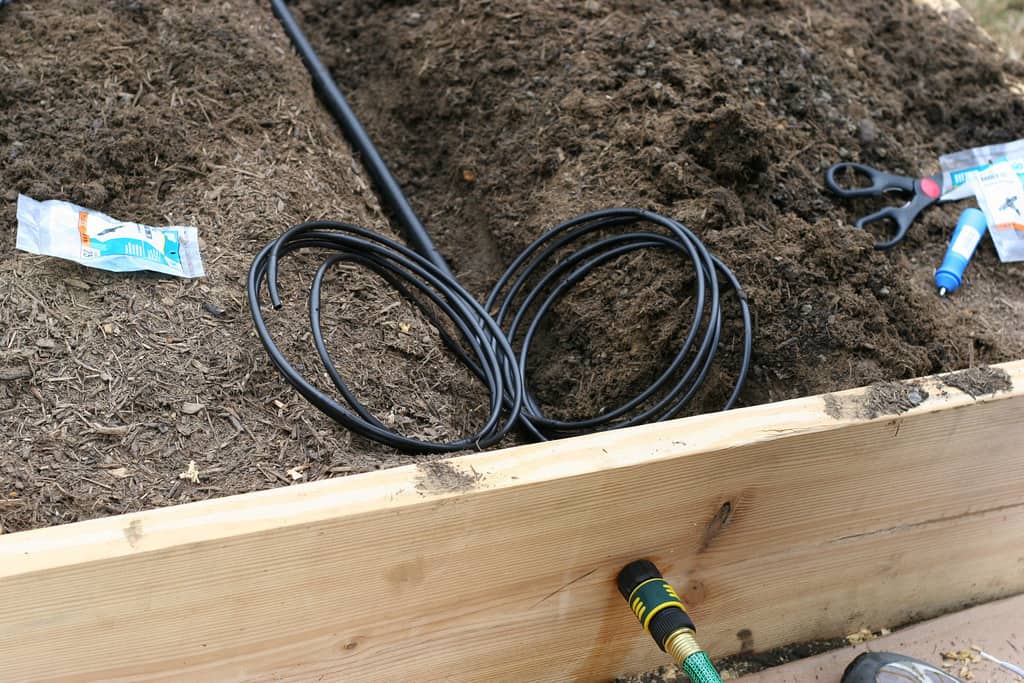
1/4″ flexible micro-tubing/drip tubing. 50 feet cut into 6 – 8′ long pieces.
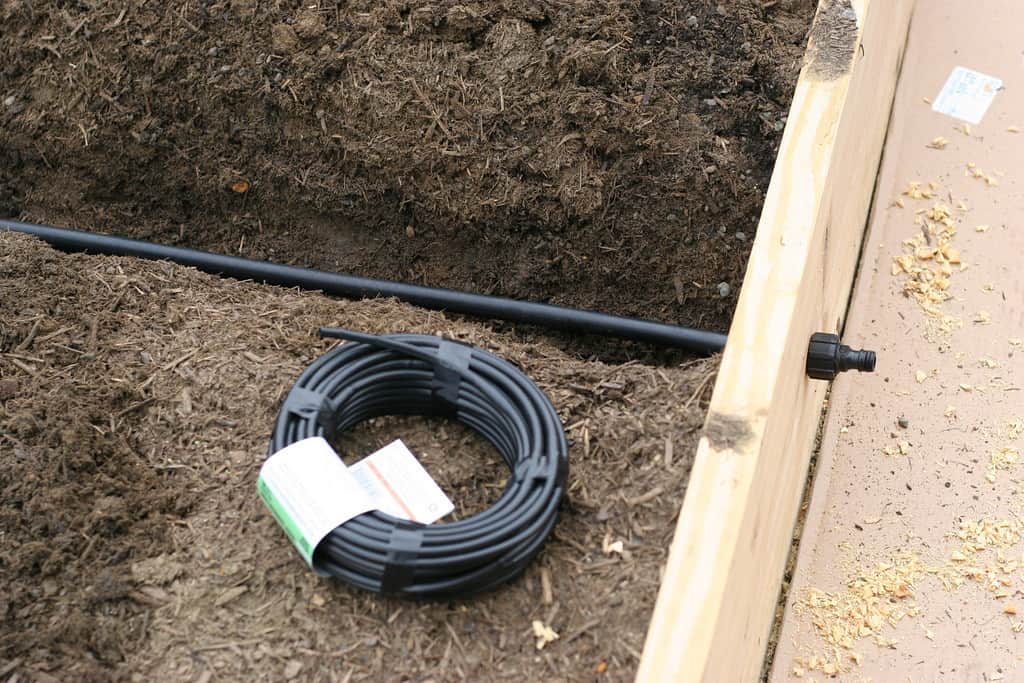

Use the DIG Punch Tool to poke a hole at the beginning of the mainline in the first bed to begin drip-line installation.
Install 1/4″ tee for 3-way layout of 1/4″ micro (drip) tubing.
Attach one 8′ length of micro-tubing/drip-line to once side of tee.
And another 8′ length of drip-line to the other side of tee.
When you get the the other end of the first bed, install a 1/4″ Barb connector for a single dripline.
Attach single dripline
Now, in the second bed, repeat all steps for adding the tee with double drip-lines and the barb connector with a single drip-line.
Close-up of barb connector with drip-line installed.
And here's a close-up of the Tee with drip-lines installed.
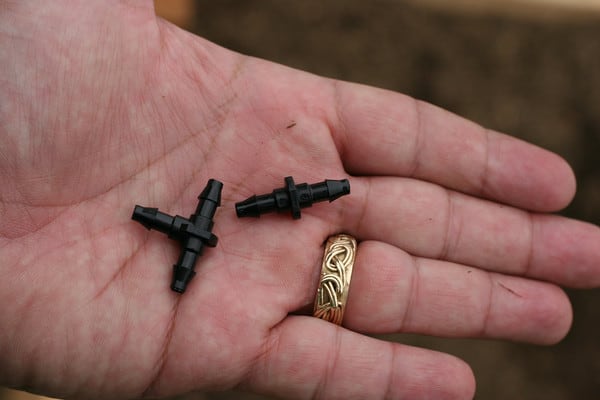
And here's what the Tee and the Barb connector look like.
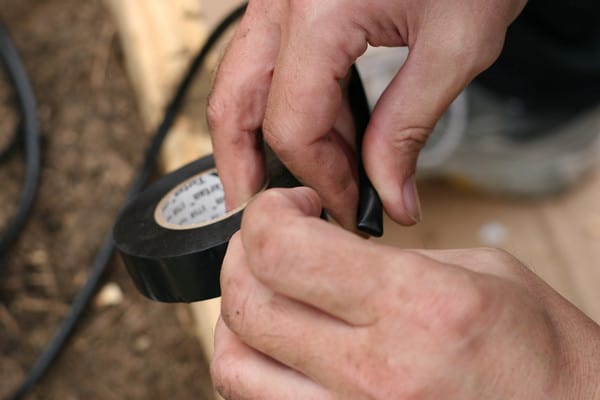
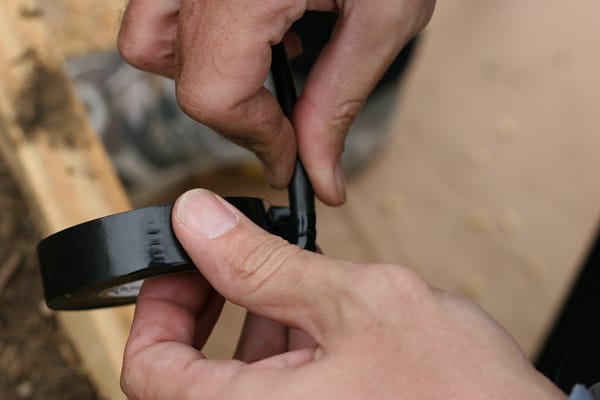
At the end of each drip-line, fold over to crimp and tape closed.
Now you want to test system for leaks at ends & connectors.
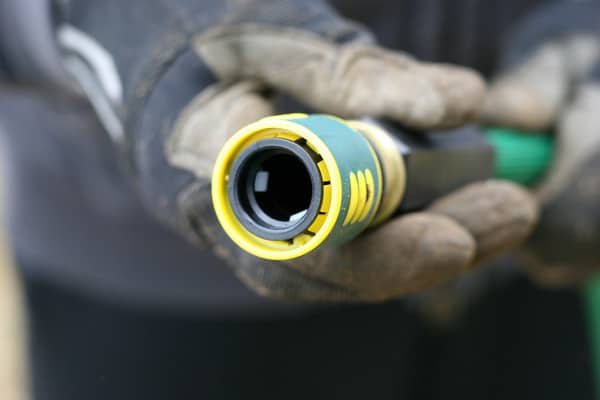
Attach quick disconnect hose to outside of bed.
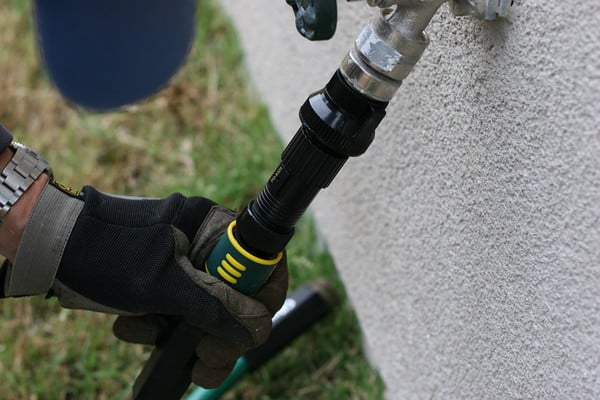
At the faucet there is:
1. a check valve prevents dirty water going into water system
2. A pressure regulator that gives you the 25lb of water pressure needed for the system vs. the 40lb of typical house water pressure.
3. The nipple for quick hose disconnect.

Attach quick disconnect hose to faucet.
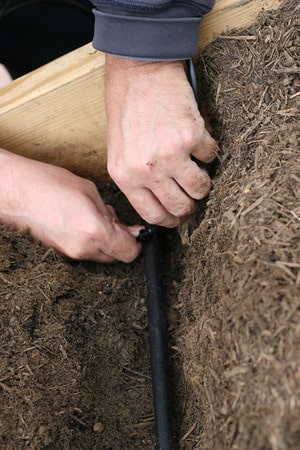
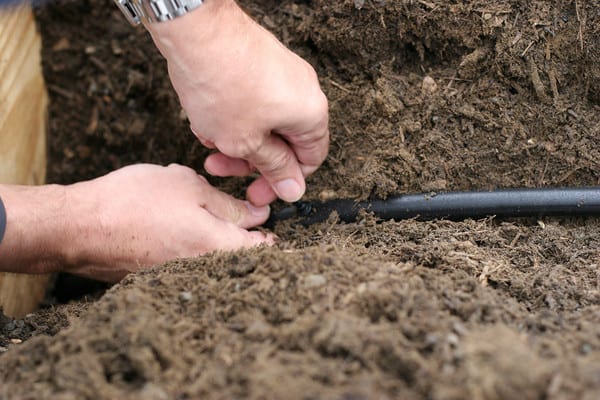
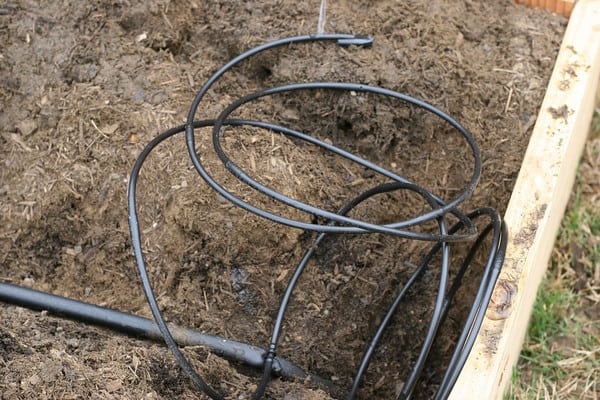
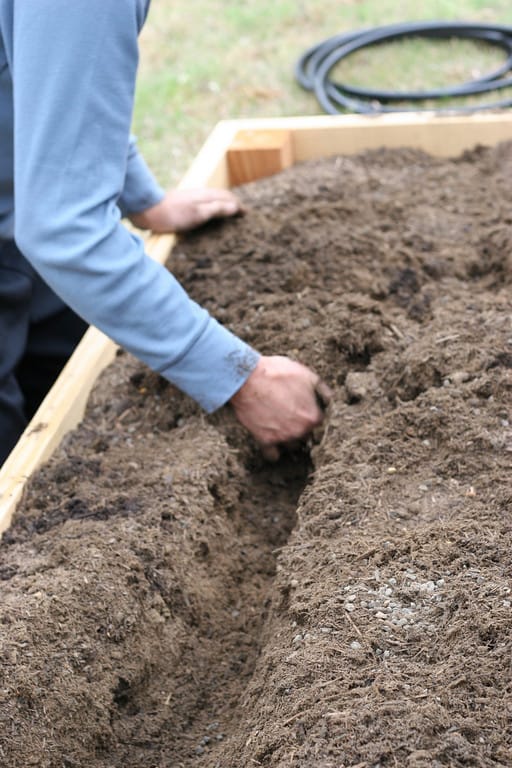
If everything looks good, start burying your drip-lines at 6″ deep. The two drip-lines that come off of the tee go out one foot and then down the length of the bed. The one drip-line that comes off of the barb connector at the far end runs back to the start along the center with the mainline hose.
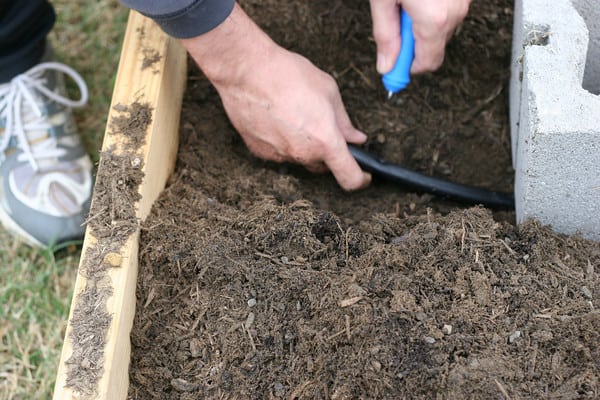
Digging trench.
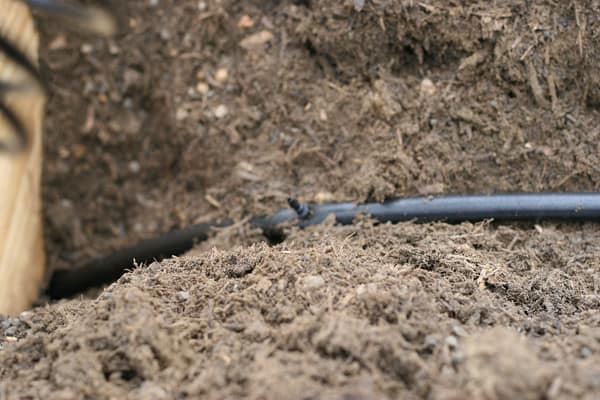
laying drip-line.
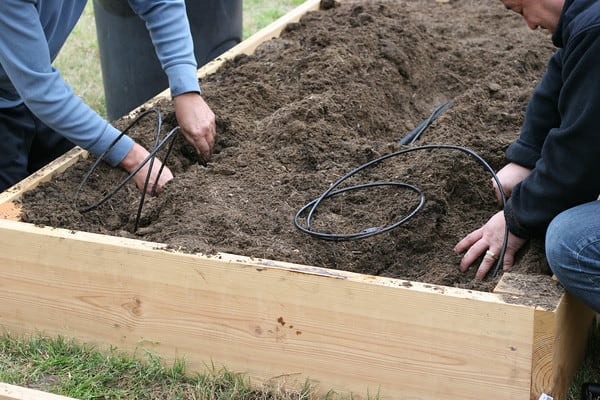
Burying drip-line.
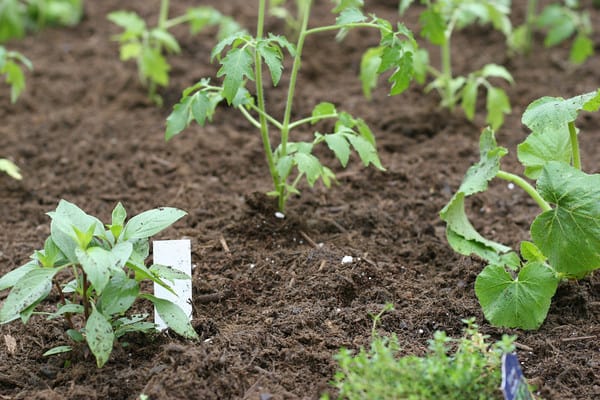
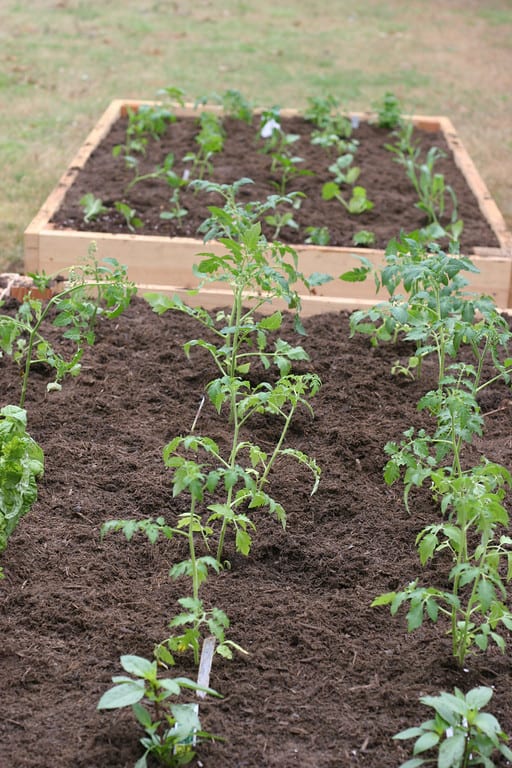
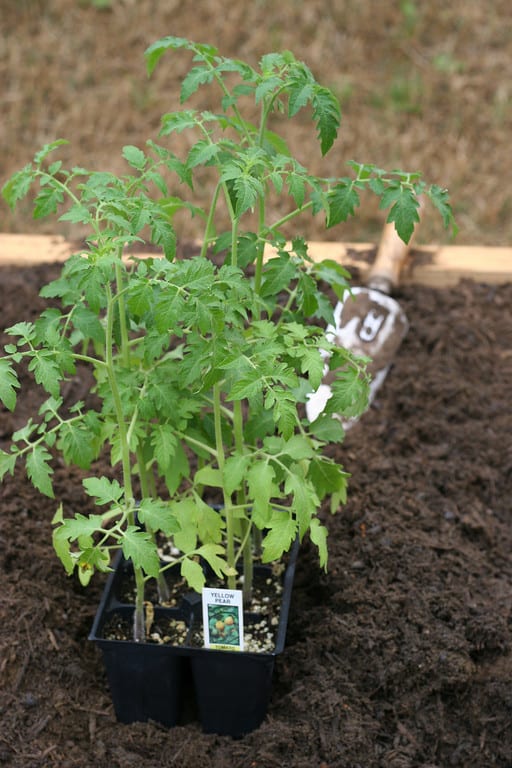
And once you're all finished you are ready to plant! You don't want to plant directly on a drip-line. Here we have laid our irrigation on a 1 foot grid creating 4 columns the length of the bed. This makes it easy to avoid the buried tubing. More to come on what we are planted shortly!
So what do you think? Easy enough to try? Did we do it all wrong?
See how we build our raised beds here.
by Jacinda
How Deep Down Should The Irrigation Pipe Be In A Raised Garden Bed
Source: https://www.prettyprudent.com/irrigation-system-for-raised-bed-garden-2/
Posted by: olveratwerse1989.blogspot.com
0 Response to "How Deep Down Should The Irrigation Pipe Be In A Raised Garden Bed"
Post a Comment